- Home
- Our CSA
- News from the Bend
- Contact Us
-
Recipe Index
- Beans
- Beets
- Bok Choy
- Broccoli
- Cabbage
- Carrots
- Collards
- Cucumbers
- Dill
- Eggplant
- Fava Beans
- Fennel
- Garlic Scapes
- Ginger
- Herbs
- Kale
-
Kohlrabi
-
Kohlrabi Recipe Contest
- Kohlrabi Noodles with Tataki Cabbage or Kale
- Kohlrabi Salad with Sesame Ginger Viniagrette
- Crispy Apple and Kohlrabi Salad
- Kohlrabi, Apple, and Beetroot Salad
- Kohlrabi Home Fries
- Roasted Kohlrabi with Parmesan
- Kohlrabi Risotto
- Mashed Kohlrabi and Potatoes
- Knol Khol Poriyal
- Kale and Kohlrabi Salad
- Apple Kohlrabi Salad
- Kohlrabi Zucchini Carrot Fritters with Herb Yogurt Sauce
-
Kohlrabi Recipe Contest
- Lemongrass
- Mustard Greens
- Napa Cabbage
- Okra
- Parsley
- Peppers
- Radishes
- Rainbow Chard
- Rapini
- Roselle
- Salad
- Sorrel
- Spring Onions
- Strawberries
- Summer Squash
- Sweet Potato
- Tomatoes
- Cherry Tomatoes
- Turnips
- Winter Squash
- Watermelon
- About Snow's Bend
- Farm Tours
|
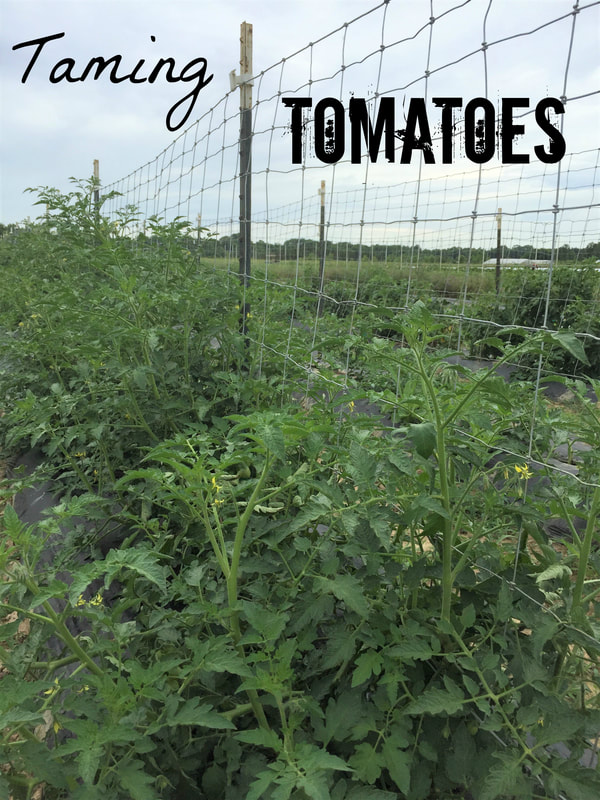
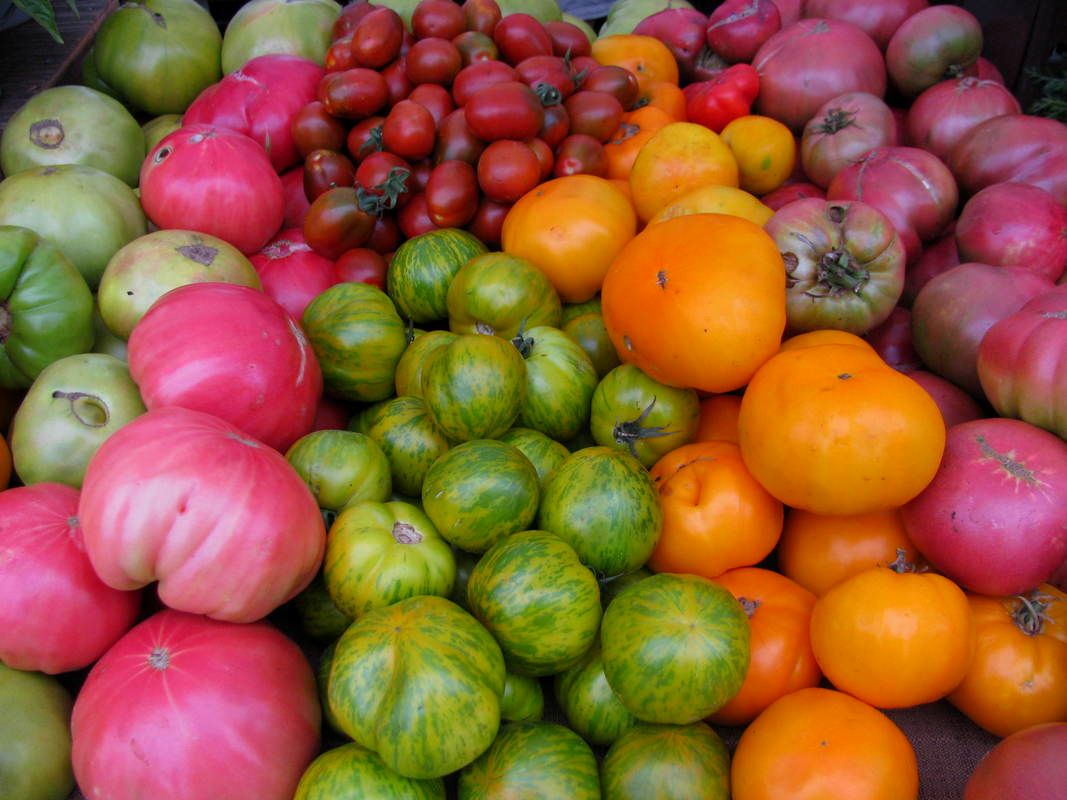
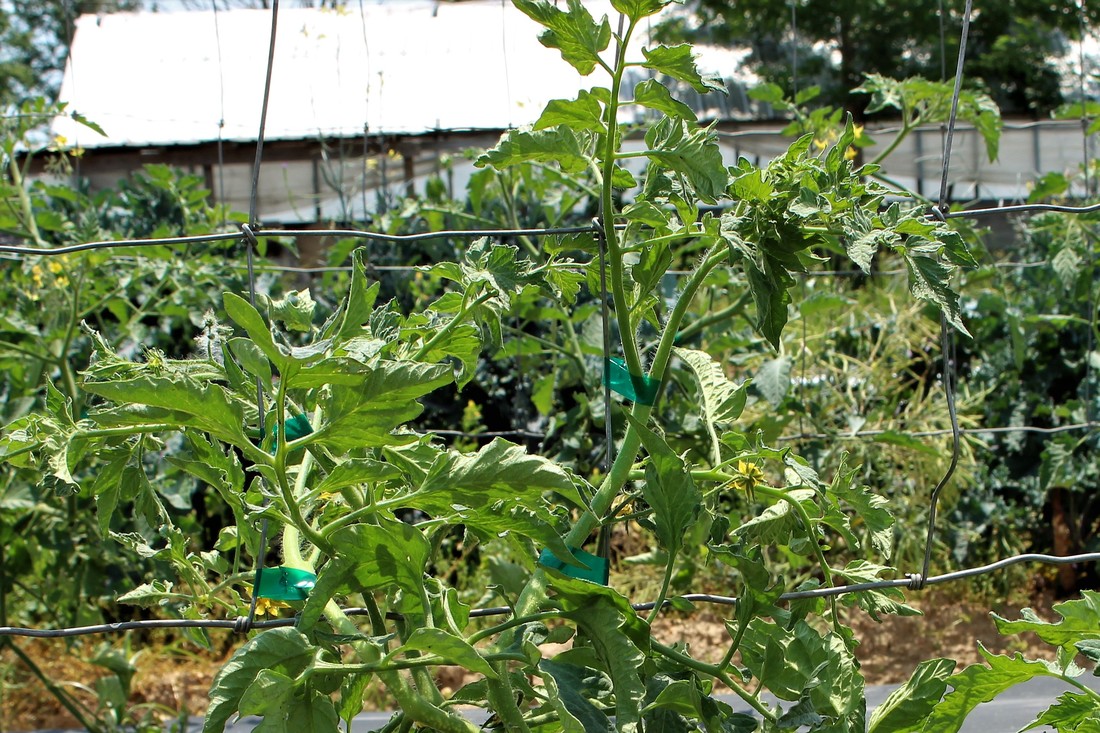
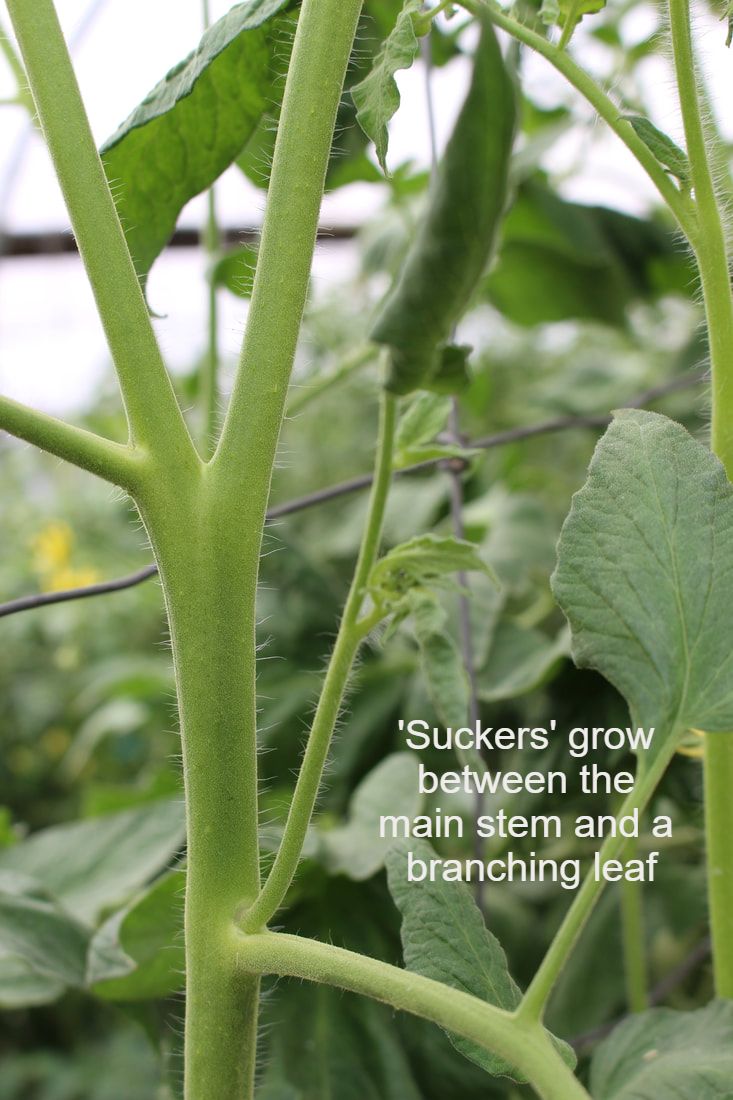
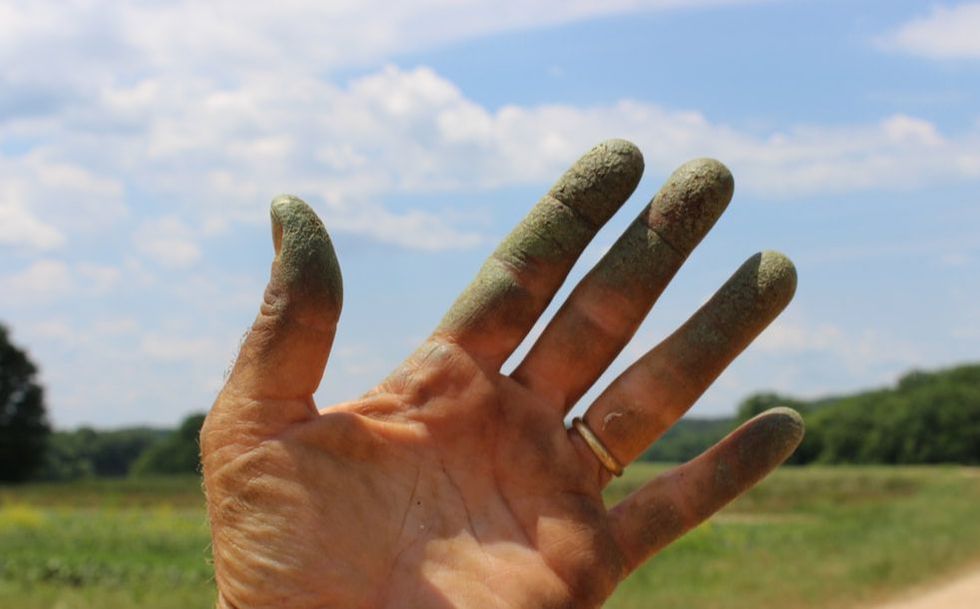
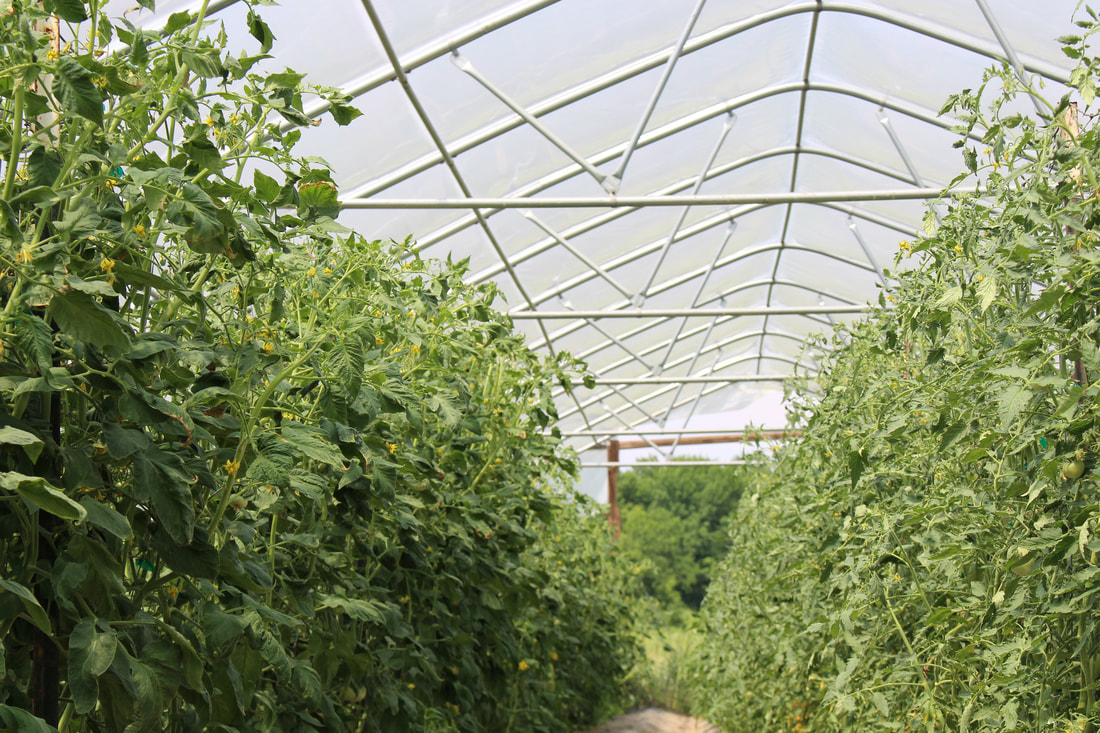
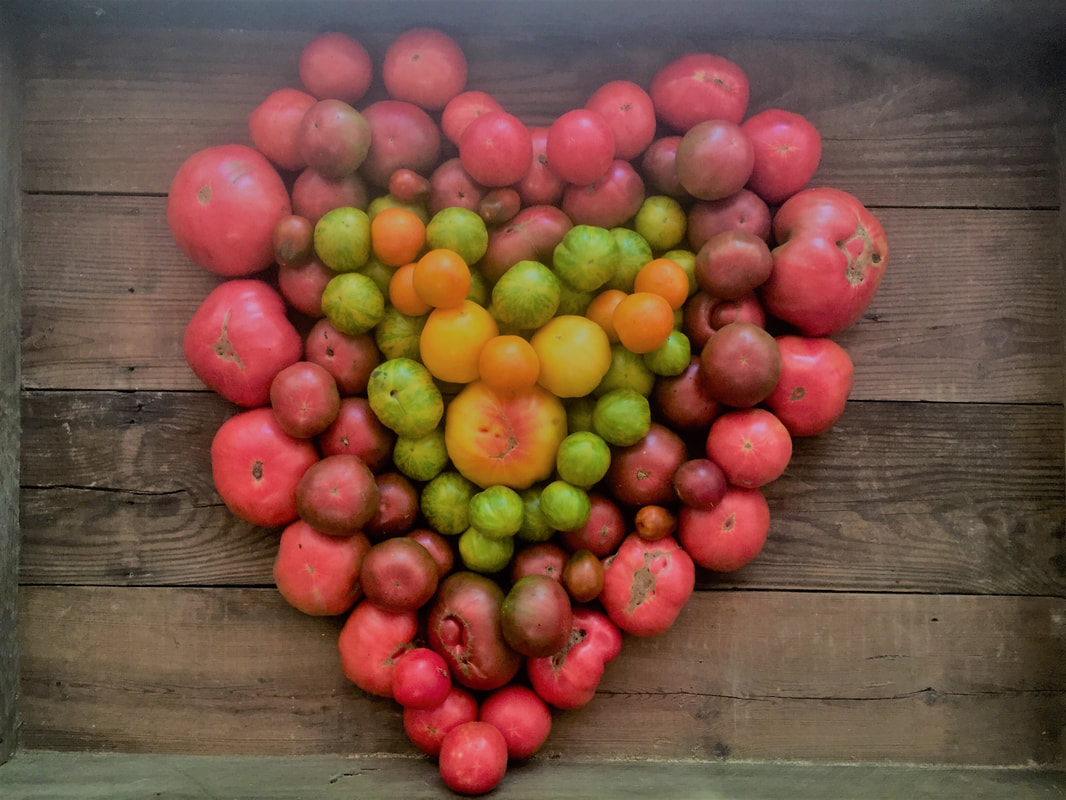
An iconic summer food. The mascot of farmer’s markets. The pride of home gardeners. Tomatoes begin to ripen at the end of May here and we’ll soon be tasting a rainbow of varieties; Red Zebra, Valencia, Persimmon, Sungold, Aunt Ruby’s German Green, Cherokee Purple, Indigo Blue Beauty, and many more. Before we can eat them, a lot of work goes into growing and maintaining these precious plants. The term ‘vine-ripened’ alludes to the fact that tomatoes are vines. Indeed they are, if left to their own devices. Our job as farmers is to attempt to tame these vines so that they will produce larger fruit for a longer period of time and also so that we can find them amongst the tangled jungle of leaves and branches. Before a single plant is tucked into the soil, the trellising system must be in place. Our field system is created by unrolling field fence and attaching it to T-posts that have been hammered into the ground every 10 feet. The field fence gives us something to tie the tomato branches to allowing them to grow straight up. The T-posts have the added benefit of offering the blackbirds a place to perch above us and whistle their opinions as we work. Pruning tomatoes, like many repetitive jobs on the farm, can be meditative for me. Looking at a tomato plant, I see only the suckers as I work my way up the plant, methodically pinching them off. A “sucker” begins to grow In-between each branch and the main stem. The term sucker refers to these additional branches that will sap energy the plant should be putting towards producing fruit and put it towards growing more branches and vining out. Pruning also allows for more airflow which helps reduce the possibility of disease. At the end of one of these sessions my thumb and fingers will have a thick layer of a hard, scaly, black substance attached to them. “Tomato tar”, as some people call it, begins as a yellow powder that sticks to your skin when you touch a tomato plant or brush up against one. It is actually essential oils emitted from the glandular trichomes, or tiny hairs, on the stem and leaves of tomato plants. The oils are thought to defend the plant from pests and infections, and also to reduce evaporation. Each plant has many suckers and our farm has thousands of tomato plants. As I pinch the suckers off one by one, a little bit of that yellow powder rubs off each time, turning green and building up to eventually create a thick, dark, second layer of skin. Later, at home, I’ll have to use a pumice stone to scrape this alligator-like skin off. After a few weeks of this, there will be cracks in my skin on these fingers, a mark of pride for any farmer. These oils contribute to the unique smell of tomato plants. Gazing upon freshly trellised and pruned tomatoes is satisfying. The plants stand straight and tall, there is plenty of room to walk through the rows, and most importantly, they look happy. It looks like hedgerows, tall and thick, despite all of our pruning, so that the large green leaves fill all of the space. When I enter a plot with row after row of tomatoes it is like entering the secret garden that I’ve long for ever since I was a child. I'm at home. Each week we begin to trellis and prune and by the end of the week it is time to start again at the beginning. One of our staff members asked when we might be done with that job and I answered “never”. He laughed and replied with “when the tomatoes are gone”? I said yes and we went back to work, because when we have that first juicy bite and every one that follows throughout the summer, it will be worth every minute. Happy and Healthy Eating! Note: Since writing this, we have implemented a 'lower and lean' trellis system in our high tunnels. We are only in year two, but so far we like it.
1 Comment
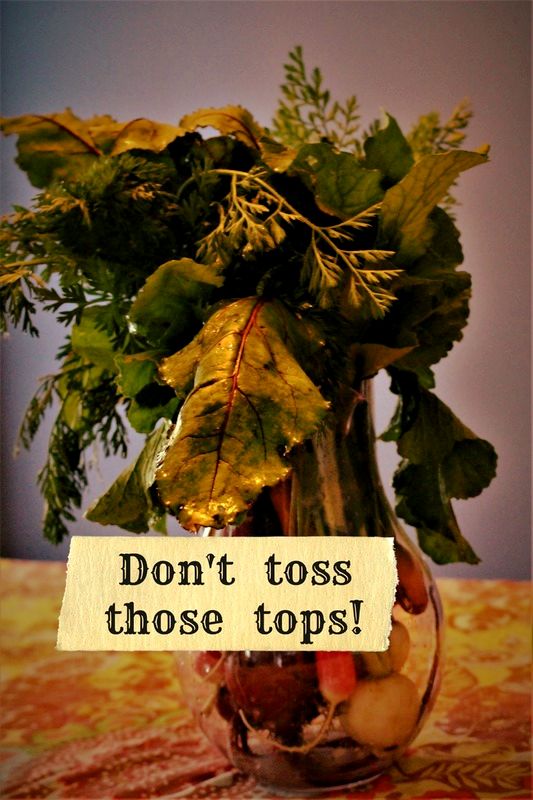
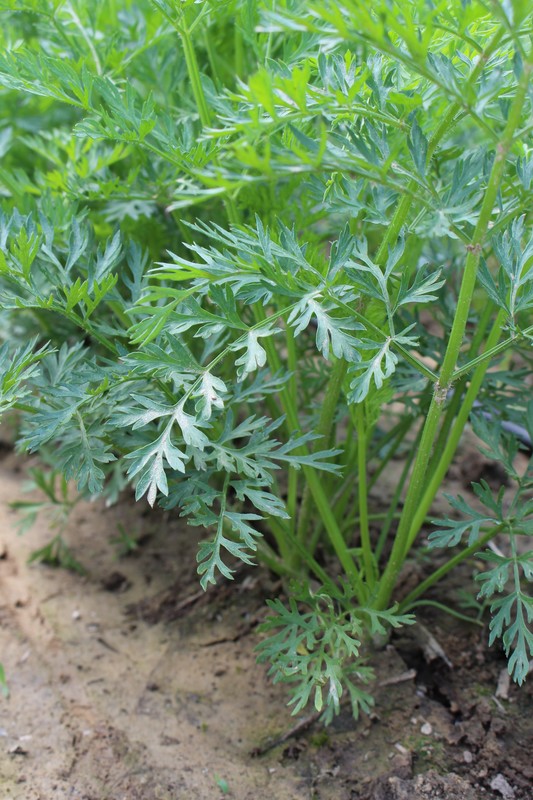
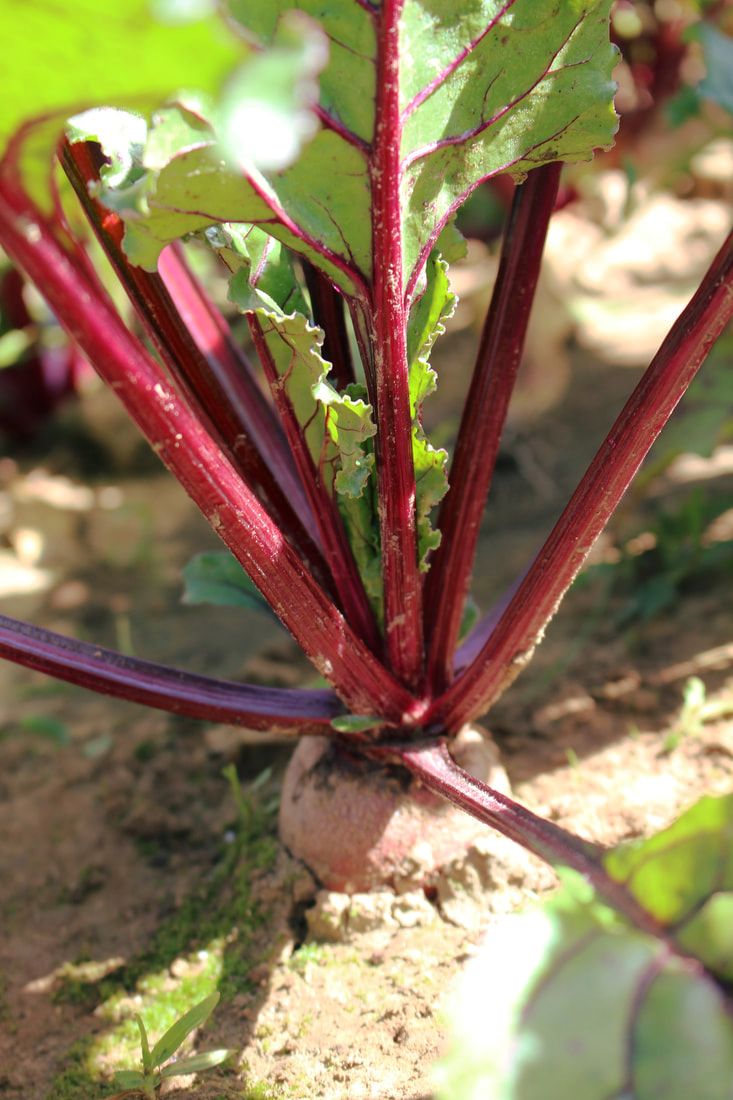
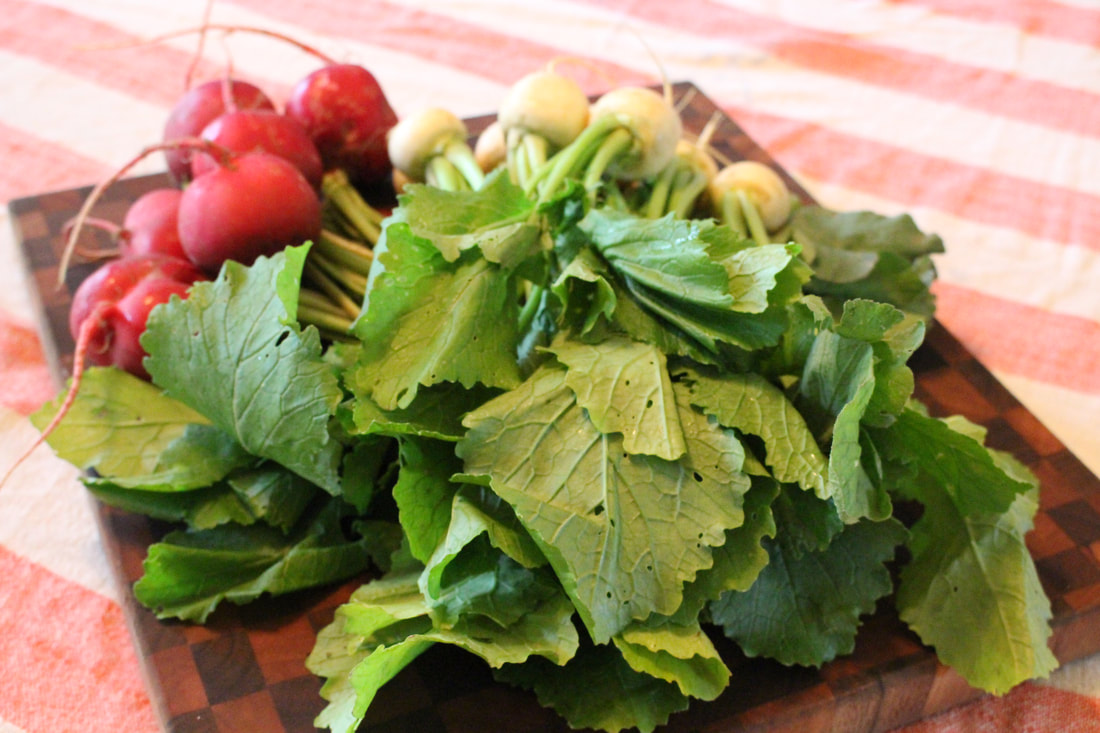
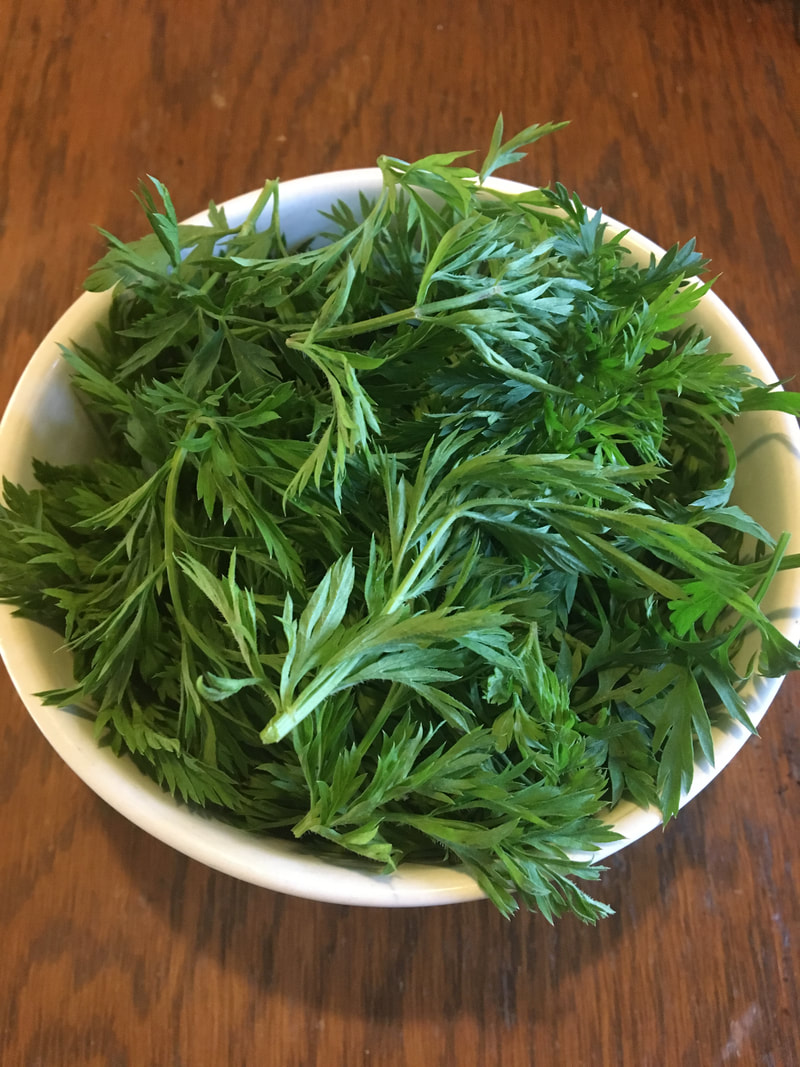
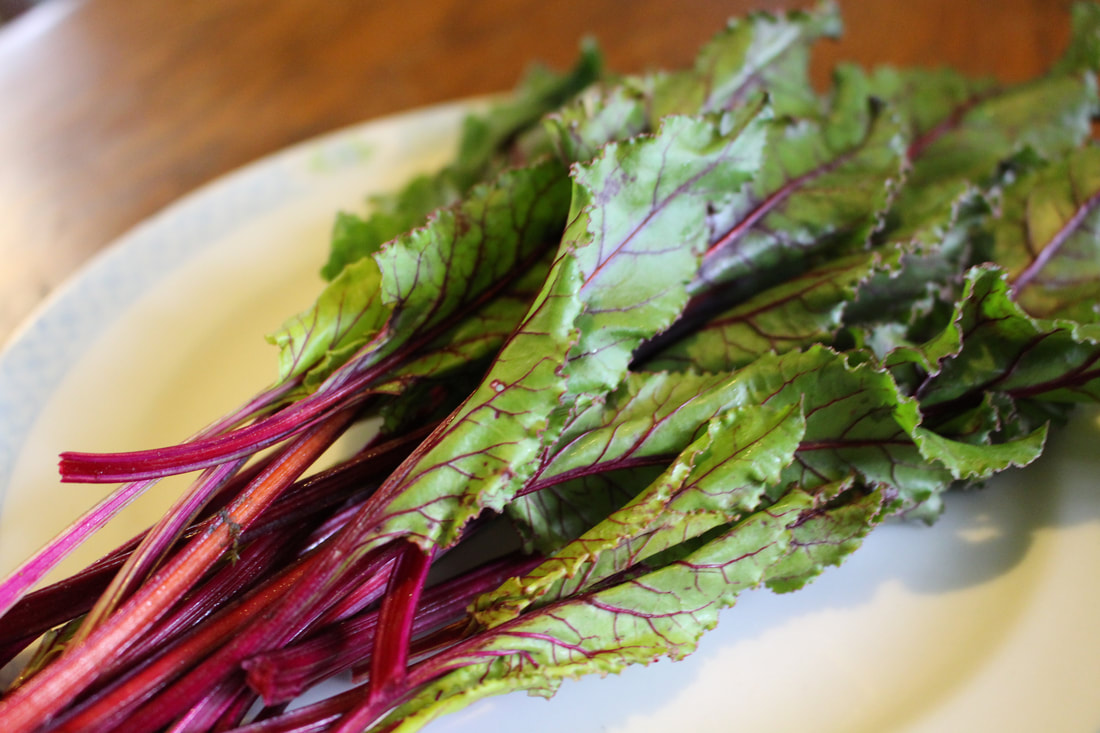
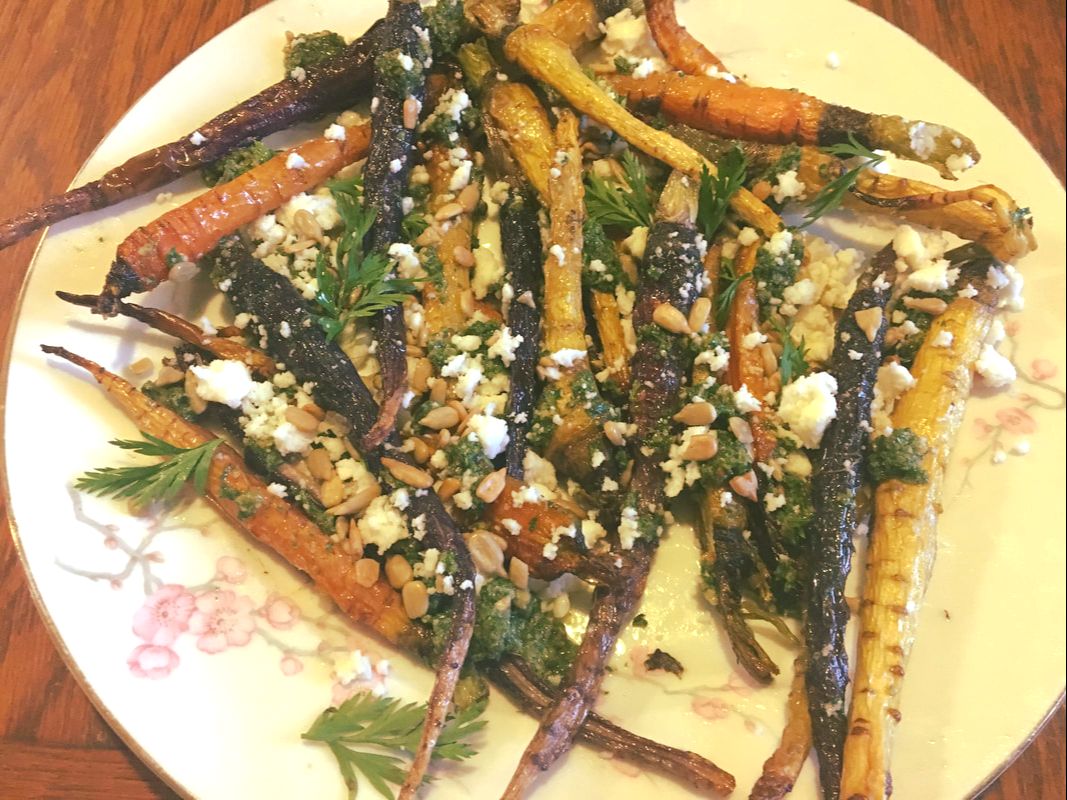
When a seed germinates, it begins to grow in two parts; the leaves we see above ground and the roots hidden below. With root vegetables, for a while all we can see are the heart shaped cotyledons of turnips and radishes, the colorful ones of the beets, and the feathery carrot greens. Then one day the surface begins to crack along the row, just where the stems meet the soil. Later we’ll find the top of the root bulging up from the soil horizon. All the while, the greens above ground are working hard as well. These tops are often relegated to the compost heap, but don’t do that! They are edible, nutritious, and delicious. When I bring home a bunch of carrots, beets, radishes, or turnips, the first thing I do is cut the tops off. Instead of composting them, I store them in the crisper to prepare and eat. If left attached, the greens will leech water from the roots and neither will store as long. On their own, the roots store for weeks, even months. The tops will not last as long. Here are a few recipes highlighting the underused portion of your root bunches! Beet Green Pasta From Chez Panisse Vegetables by Alice Waters Serves 4 to 5 “Beet greens cooked this way can also be served as a side dish, without the pasta.” ½ cup currants 3 to 4 bunches of beet greens 1 small bunch fresh mint 2 medium red onions 2 to 3 cloves garlic 1 bay leaf ½ cup extra-virgin olive oil 1 pound dried fedelini pasta Salt and pepper Cover the currants with boiling water, let them soak for 15 minutes, and drain them. While they are soaking, wash the beet greens, strip the leaves from the stems, and cut the leaves into chiffonade. Chop the stems into 2-inch lengths. Stem the mint (use a smooth-leaved variety, if possible), wash the leaves, and chop them into chiffonade. Put on a pot of salted water for the pasta. Peel the onions and the garlic and chop them both fine. Sauté them with the bay leaf over medium heat in ¼ cup of the olive oil for about 5 minutes or until they are translucent. Add the beet leaves and stems and the currants and cook 5 minutes more, covered. Meanwhile, when the water has come to a boil, add the mint leaves. When the pasta is cooked, drain it and toss well with the sauce, moistening it with a ladle of the pasta water and the rest of the olive oil. Serve immediately. Note: for a slightly more piquant dish, add a splash of vinegar and a pinch of cayenne. Baby Carrots with Carrot-Top Pesto From Saladish by Ilene Rosen Serves 4 2 bunches of baby carrots, scrubbed, tops attached 2 to 3 tablespoons flavorless vegetable oil Kosher salt and freshly ground black pepper Carrot-Top Pesto About 2 cups loosely packed green carrot tops (stems discarded), from carrots above ¼ cup sunflower seeds, toasted 1 small garlic clove 1 ½ teaspoons Dijon mustard 1 ½ tablespoons white wine vinegar or fresh lemon juice 1 ½ teaspoons honey ½ cup plus 2 tablespoons flavorless vegetable oil Kosher salt and freshly ground black pepper Fruity olive oil for thinning pesto 3 tablespoons queso fresco, crumbled 2 tablespoons canned or jarred pickled jalapenos, minced Preheat the oven to 400 degrees. Trim the carrots, leaving ½ inch of the green tops attached. Reserve about 2 cups of the remaining frilly tops for the pesto, plus several of the nicest-looking tops for garnish. Cut any fatter carrots lengthwise in half so they are all about the same thickness and place on a sheet pan. Toss with enough oil to coat, spread them out on the pan, and season with salt and pepper. Roast the carrots for 18 to 25 minutes (depending on the size), turning occasionally, until nicely browned and tender. Meanwhile, make the pesto: Put the carrot tops, 3 tablespoons of the sunflower seeds, and the garlic in the bowl of a food processor or in a blender and grind to a paste. Add the mustard, vinegar, and honey and blend thoroughly. With the motor running, slowly drizzle in the oil and process until the pesto is thick but still retains some texture. Season to taste with salt and pepper. You’ll have some pesto left over; store it tightly covered in the refrigerator, and use it within the next day or two, while the color is still bright.) Arrange the carrots on a serving dish. Thin the pesto with olive oil until it can be drizzled. Spoon some pesto lightly over the carrots, and transfer the remaining pesto to a small serving bowl. Top the carrots with the cheese, followed by the jalapenos, and finally the remaining 1 tablespoon sunflower seeds. Serve the remaining pesto on the side. More uses for carrot-top pesto:
Radish Top Soup with Lemon and Yogurt From Vegetable Literacy by Deborah Madison Serves 6 or more “Although they may have a coarse appearance and a rough texture, radish greens turn this potato-based soup a delicate green, and the flavor is equally soft.” 4 to 8 cups radish tops 1 tablespoon butter or olive oil 1 bunch spring onions, thinly sliced 1 large russet potato (about 1 pound), scrubbed, quartered, and thinly sliced Sea salt 4 cups water or chicken stock Finishing touches: Juice of 1 lemon Sea salt and freshly ground pepper Yogurt Few tablespoons of thinly julienned radishes Sort through the radish tops, tearing off and discarding the thick stems that don’t have much leafy material and discarding any leaves that are less than vibrant. Melt the butter in a wide soup pot over medium heat. Add the onion slices, lay the potato slices over them, and cook them for several minutes without disturbing them while the pan warms up. Then give the onion and potato slices a stir, cover the pan, and cook over low heat for 10 to 15 minutes, giving the vegetables an occasional shove around the pan. The pan should take on a nice brown glaze from the onions. Add 2 teaspoons salt and the water and bring to a boil, scraping the pan bottom to dislodge any of the glaze. Lower the heat to a simmer, cover, and cook until the potatoes are tender and falling apart, about 15 minutes. Add the radish greens to the pot and cook long enough for them to wilt and go from bright to darker green, which will take just a few minutes. Let the soup cool slightly, then puree it, greens and all, leaving it a bit rough if you like some texture or making it smooth if you prefer, then return the soup to the pot. To finish, add the lemon juice, season with salt (potatoes can take a lot of salt) and pepper. Ladle the soup into shallow bowls and stir a spoonful of yogurt into each bowl. Scatter the julienned radishes over the top and serve. Turnip Root and Green Gratin From Deep Run Roots by Vivian Howard Serves 6 to 8 2 tablespoons butter, divided 3 medium onions, halved and sliced with the grain 1 ½ teaspoons salt, divided 2 cups turnip roots, peeled and cut into ½-inch dice 2 cups heavy cream 5 garlic cloves, sliced thin ½ teaspoon dried thyme 8 ounces greens (4 cups), wilted to 1 cup 1 egg 1 cup Parmigiano-Reggiano, grated on a Microplane 1 cup Fontina, grated on a box grater 10 turns of the pepper mill or a scant ¼ teaspoon black pepper 3 cups stale crusty bread cut into ½-inch cubes Preheat your oven to 375 degrees and rub the inside of a 2-to3-quart baking dish with 2 teaspoons of butter. Melt 1 tablespoon butter in an n 8-to10-inch sauté pan or skillet and add the onions plus ½ teaspoon salt. Cook over medium heat, stirring frequently, until the onions are caramelized and chestnut brown, about 30 minutes. If the onions stick and the bottom of the pan looks dangerous, add 1/3 cup water. You should end up with about 2/3 cup caramelized onions. Bring a 6-quart pot of heavily salted water up to a rolling boil and set up an ice bath nearby. Add the turnip roots and cook them for 2 to 3 minutes. Transfer them to the ice bath to stop the cooking. Once they’re cool, drain and dry the turnips. Meanwhile, in a 2-quart saucepan, gently heat the cream with the garlic and the thyme to just under a simmer. The goal is to let the cream steep, not boil, for about 30 minutes. Once it’s done, set it aside and let it cool slightly. If you want to wash as few dishes as possible, like I do, melt the remaining butter in the same sauté pan you used for your onions. Add the turnip greens and ½ teaspoon salt. Let them wilt down for about two minutes. Transfer the greens to a colander and press as much liquid out as you can. Transfer the greens to your cutting board and run your knife though them. In a large bowl, whisk together the egg, cooled cream, cheeses, remaining salt, black pepper, and onions. Stir in the roots, greens, and bread. Transfer the gloppy mess to your baking dish and let it rest for about 10 minutes (or overnight) before baking uncovered for 45 minutes. Serve warm. Radish-top pasta (making this one for dinner tonight!) From The French Market Cookbook by Clotilde Dusoulier Serves 2 Leaves from 2 bunches of radishes, turnips, or beets 8 ounces dried short pasta such as fusilli or orecchiette Olive oil for cooking 3 spring onions, finely chopped 2 head of spring garlic Freshly grated nutmeg Fine sea salt Extra-virgin olive oil Freshly ground black pepper Aged Parmesan or pecorino cheese, shaved with a vegetable peeler 12 walnut halves, toasted and roughly chopped Pick through the radish leaves and discard any that are wilted or discolored. Wash in cold water to remove all traces of sand or grit. Dry and chop roughly. Bring salted water to a boil in a medium saucepan. Add the pasta and cook according to package directions until al dente. While the pasta is cooking, heat a good swirl of cooking olive oil in a medium skillet over medium heat. Add the onions and garlic. Cook, stirring often to avoid coloring, until softened, about 2 minutes. Add the radish leaves to the skillet, sprinkle with a touch of nutmeg and some salt, stir, and let the leaves wilt briefly in the heat; they should become darker by a shade, but no more. Remove from the heat. When the pasta is al dente, drain (not too thoroughly; keeping a little of the starchy cooking water makes the pasta silkier) and add to the skillet. Add a gurgle of extra-virgin olive oil and toss to combine over low heat. Sprinkle with pepper and divide between 2 warm pasta bowls or soup plates. Top with the cheese and walnuts and serve immediately. HAPPY EATING!
|
NEWS FROM THE BENDFrom planting time to the growing and harvesting seasons, Archives
January 2024
Categories |
 RSS Feed
