- Home
- Our CSA
- News from the Bend
- Contact Us
-
Recipe Index
- Beans
- Beets
- Bok Choy
- Broccoli
- Cabbage
- Carrots
- Collards
- Cucumbers
- Dill
- Eggplant
- Fava Beans
- Fennel
- Garlic Scapes
- Ginger
- Herbs
- Kale
-
Kohlrabi
-
Kohlrabi Recipe Contest
- Kohlrabi Noodles with Tataki Cabbage or Kale
- Kohlrabi Salad with Sesame Ginger Viniagrette
- Crispy Apple and Kohlrabi Salad
- Kohlrabi, Apple, and Beetroot Salad
- Kohlrabi Home Fries
- Roasted Kohlrabi with Parmesan
- Kohlrabi Risotto
- Mashed Kohlrabi and Potatoes
- Knol Khol Poriyal
- Kale and Kohlrabi Salad
- Apple Kohlrabi Salad
- Kohlrabi Zucchini Carrot Fritters with Herb Yogurt Sauce
-
Kohlrabi Recipe Contest
- Lemongrass
- Mustard Greens
- Napa Cabbage
- Okra
- Parsley
- Peppers
- Radishes
- Rainbow Chard
- Rapini
- Roselle
- Salad
- Sorrel
- Spring Onions
- Strawberries
- Summer Squash
- Sweet Potato
- Tomatoes
- Cherry Tomatoes
- Turnips
- Winter Squash
- Watermelon
- About Snow's Bend
- Farm Tours
|
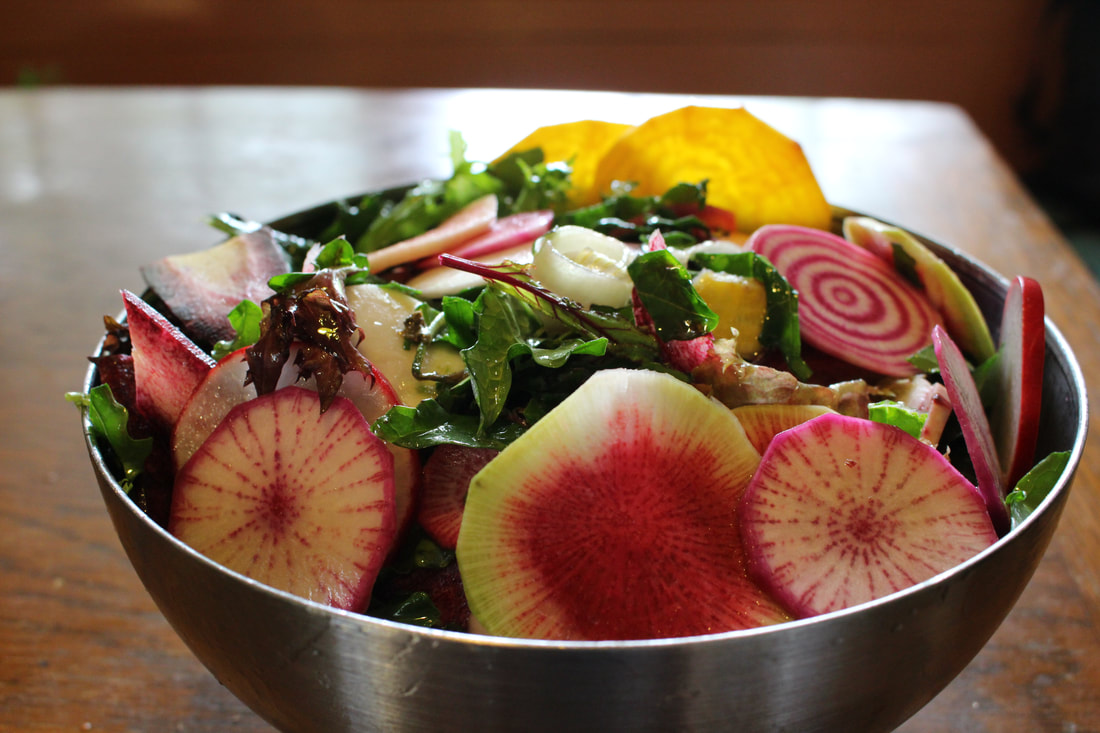
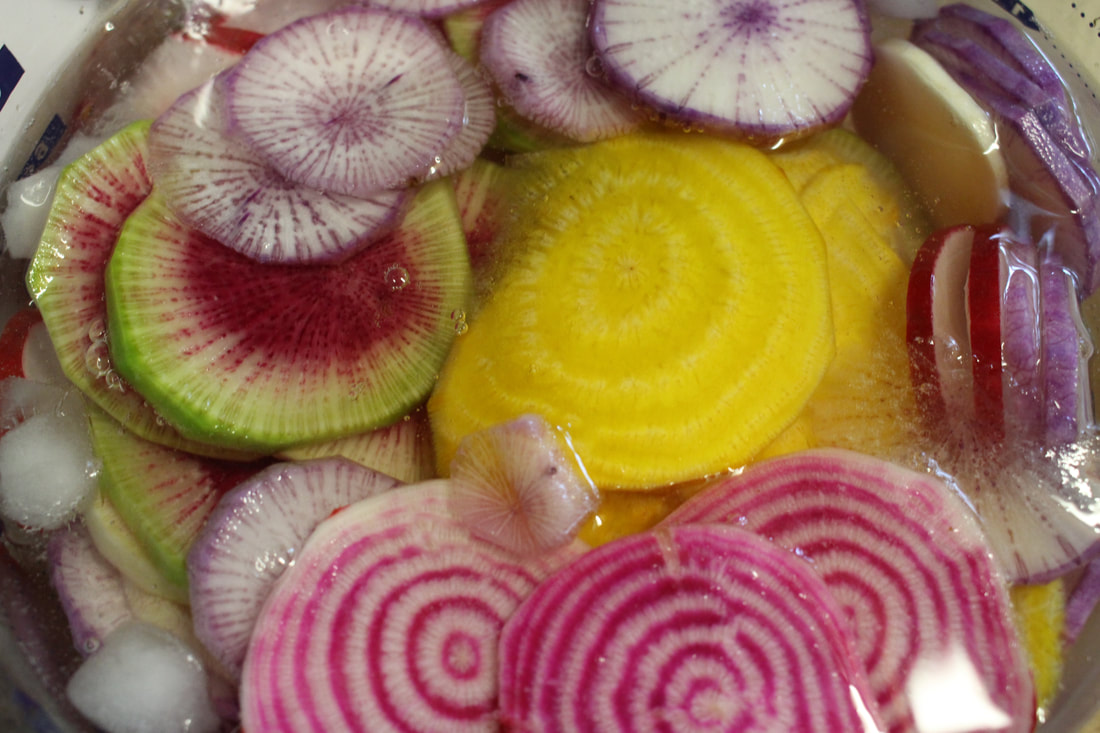
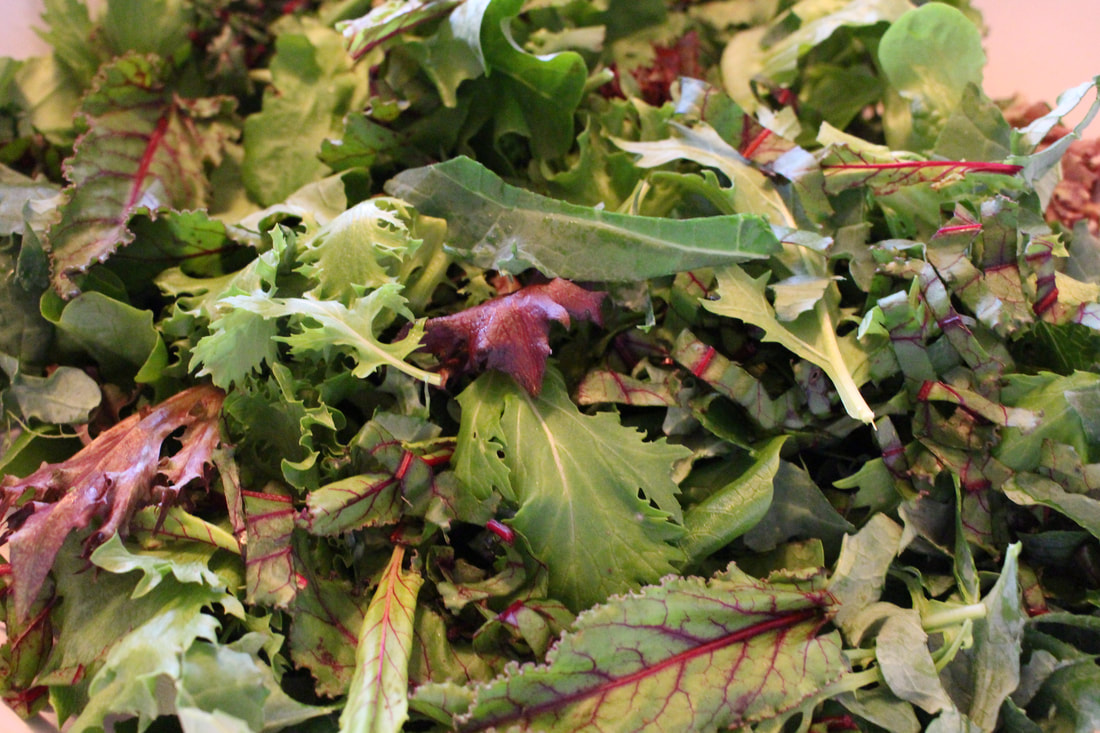
The only thing more satisfying than eating farm food is when it is as gorgeous as this salad. This recipe is from an exciting new cookbook, Saladish, by Ilene Rosen and I've included it below. Make one of your own, get creative, and share you pictures! #sbfrootsandleaveschallenge #snowsbendfarm #saladish For roots, I used chioggia beets, gold beets, red radishes, watermelon radish, purple diakon radish, Hakurei turnips, and purple carrots. Use any and all roots you can! Our salad mix already contains a good variety of greens (lettuce, arugula, mizuna, and more), but I also used thinly sliced kale leaves and some beet greens. This recipe is highly adaptable, so use whatever roots and greens you find in your CSA box or at the farmer's market. Roots and Leaves From Saladish by Ilene Rosen Serves 4 2 small beets, different colors, trimmed and scrubbed 4 small radishes or 1 larger radish, trimmed and scrubbed 6 small white turnips, trimmed and scrubbed 2 purple carrots, trimmed and scrubbed 3 ounces greens, such as salad mix, spinach, mustard, bok choy, sorrel, radicchio, and small head lettuces ¼ cup extra-virgin olive oil, or more to taste 2 tablespoons sherry vinegar, or more to taste Kosher salt and freshly ground black pepper ½ cup pickled red onions (I used our spring onions, recipe follows) Thinly slice the beets, radishes, and turnips on a mandolin. Halve if large. Set aside in a small bowl of ice water. Thinly slice the carrots lengthwise on the mandolin and put in the bowl of ice water. Put the greens in a medium bowl and dress with 2 tablespoons of the olive oil and 1 tablespoon of the sherry vinegar. Season to taste with salt and pepper, and add more oil and/or vinegar if desired. Drain the carrots and beets and pat thoroughly dry. Put the turnips and radishes in a medium bowl, add the carrots and beets, and dress with the remaining 2 tablespoons olive oil and 1 tablespoon sherry vinegar. Season to taste with salt and pepper and add more oil and/or vinegar if desired. Combine the greens, pickled red onions, and vegetables in a wide shallow serving bowl and toss together very lightly. Look for especially beautiful slices of vegetables and leaves and pull them up toward the top so they can be seed. Serve. Pickling (red) onions
also from Saladish *I used 2 spring onions and red wine vinegar* “There’s hardly a salad, sandwich, plate of eggs, cheese and charcuterie board, or platter of meat that wouldn’t be happier joined by a heap of pickled onions." Here’s how to make them: Slice onion(s) 1/8 inch thick and place in a small heatproof bowl. Combine 1 cup white wine vinegar , 1 cup sugar, and a pinch of kosher salt in a small saucepan and bring to a boil over medium heat. Boil gently, stirring occasionally, for a minute or two, until the sugar is completely dissolved. Pour over the onions and let steep until cool. Use right away or store refrigerated in the brine in a tightly covered container for up to 2 weeks.”
0 Comments
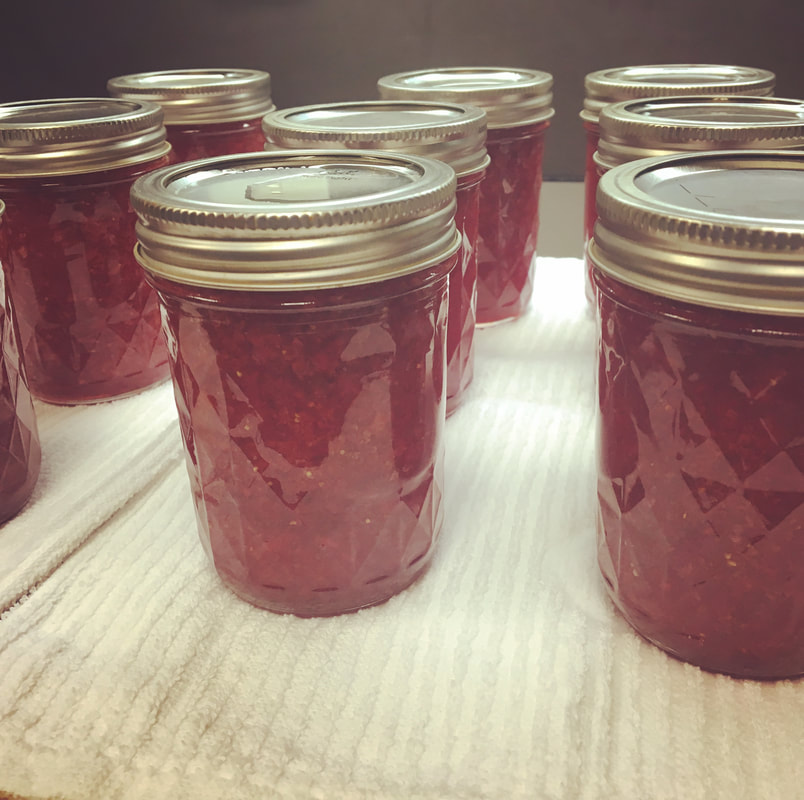
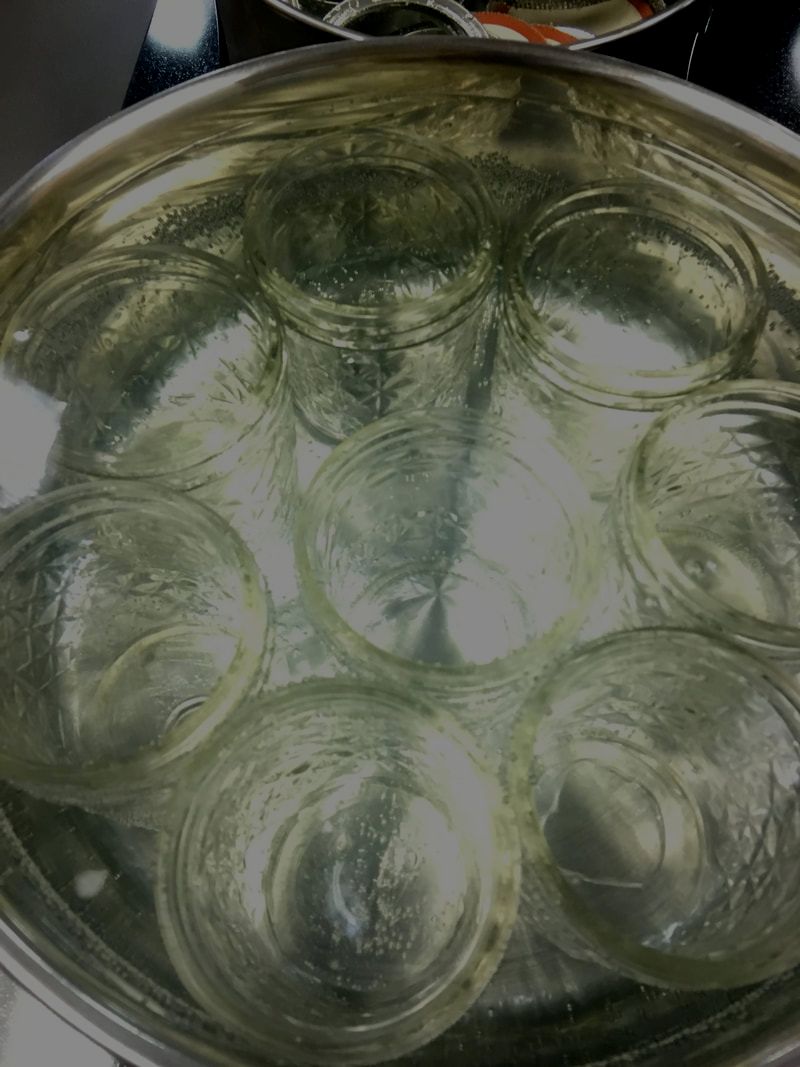
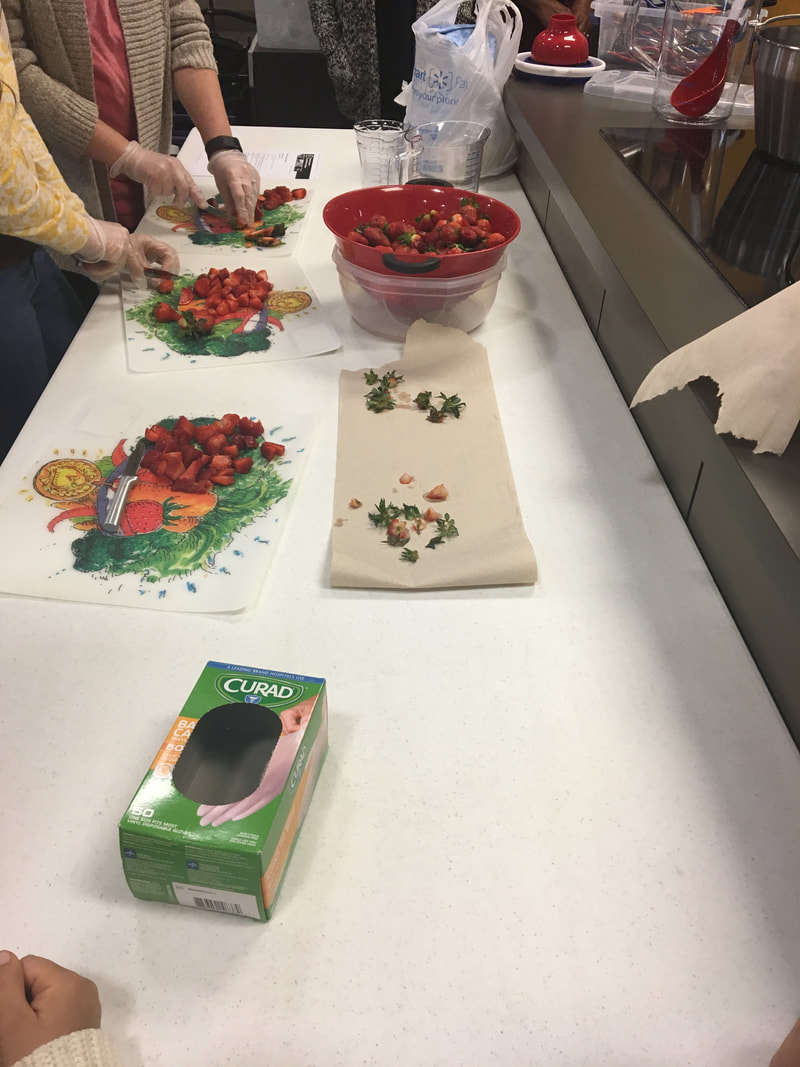
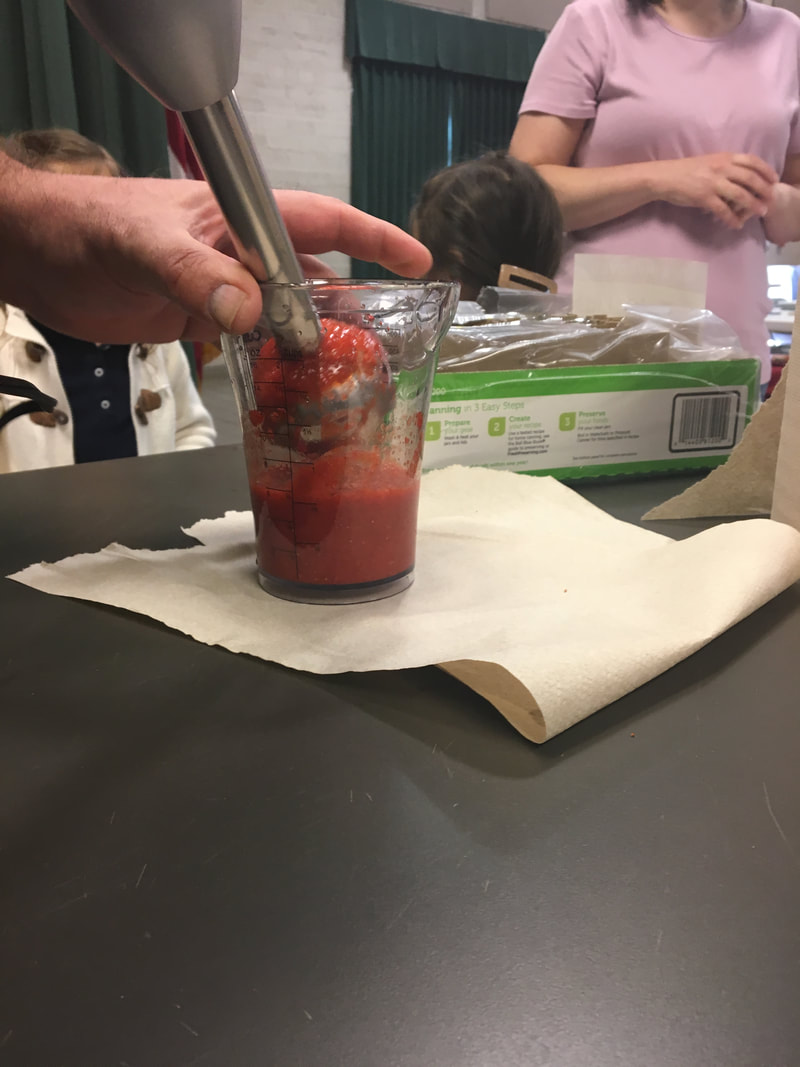
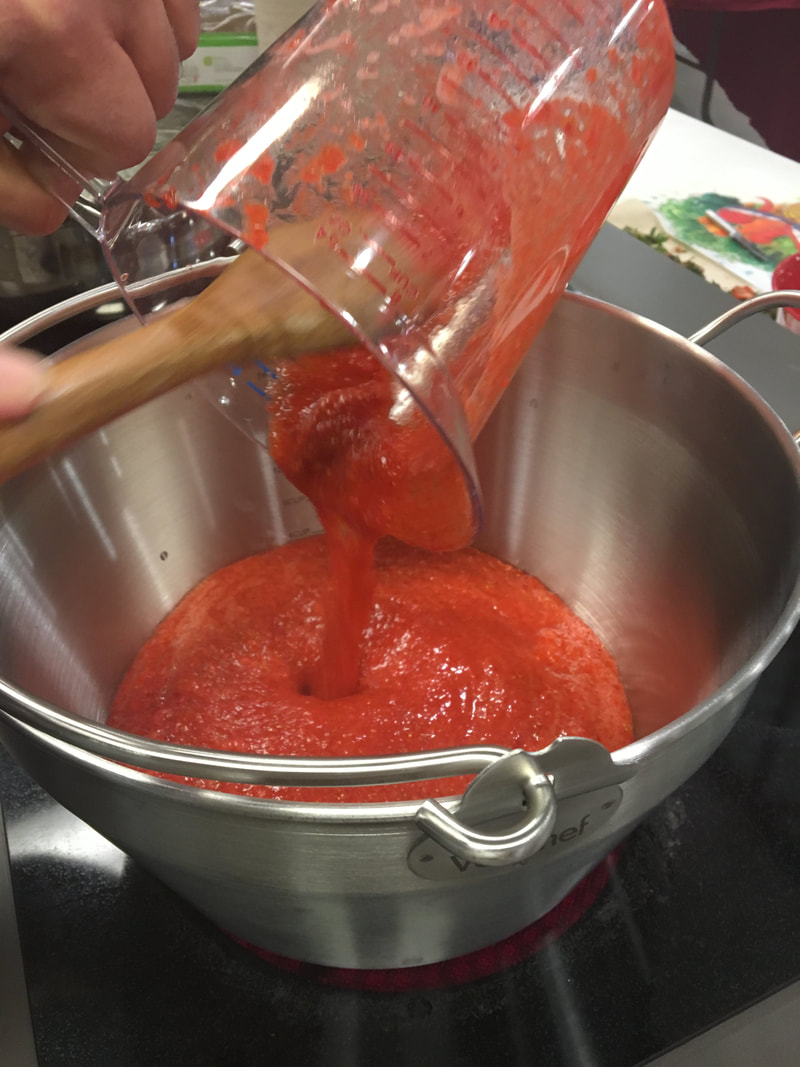
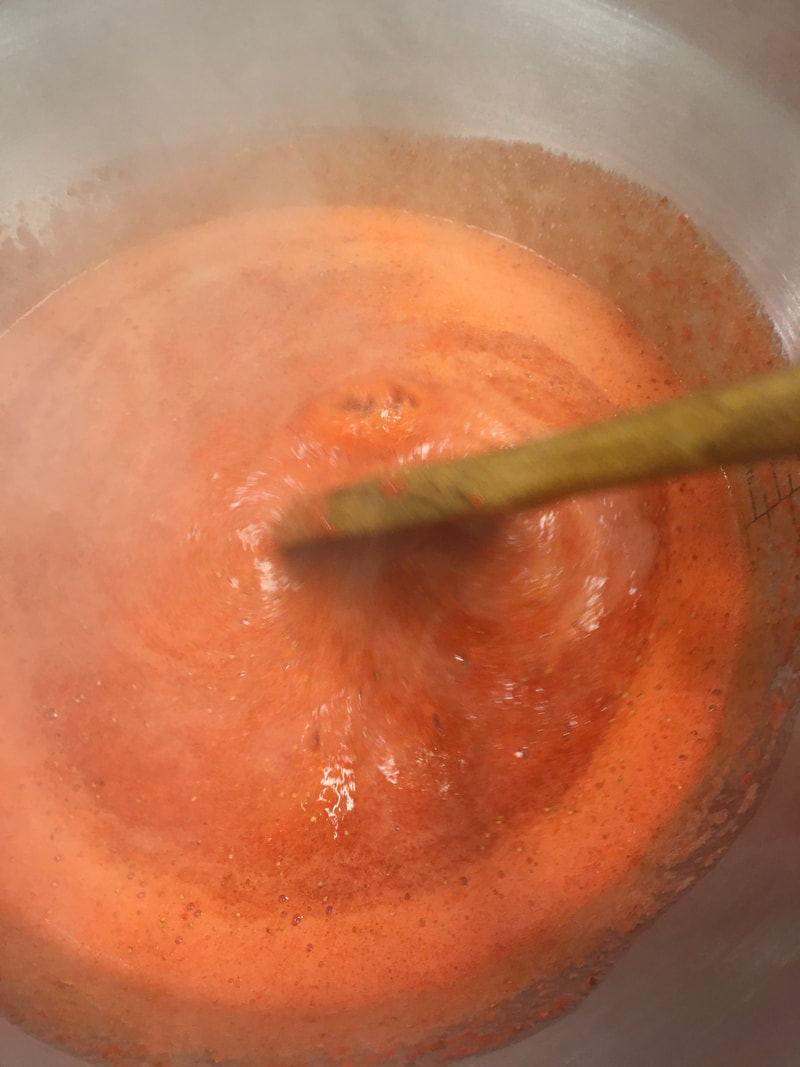
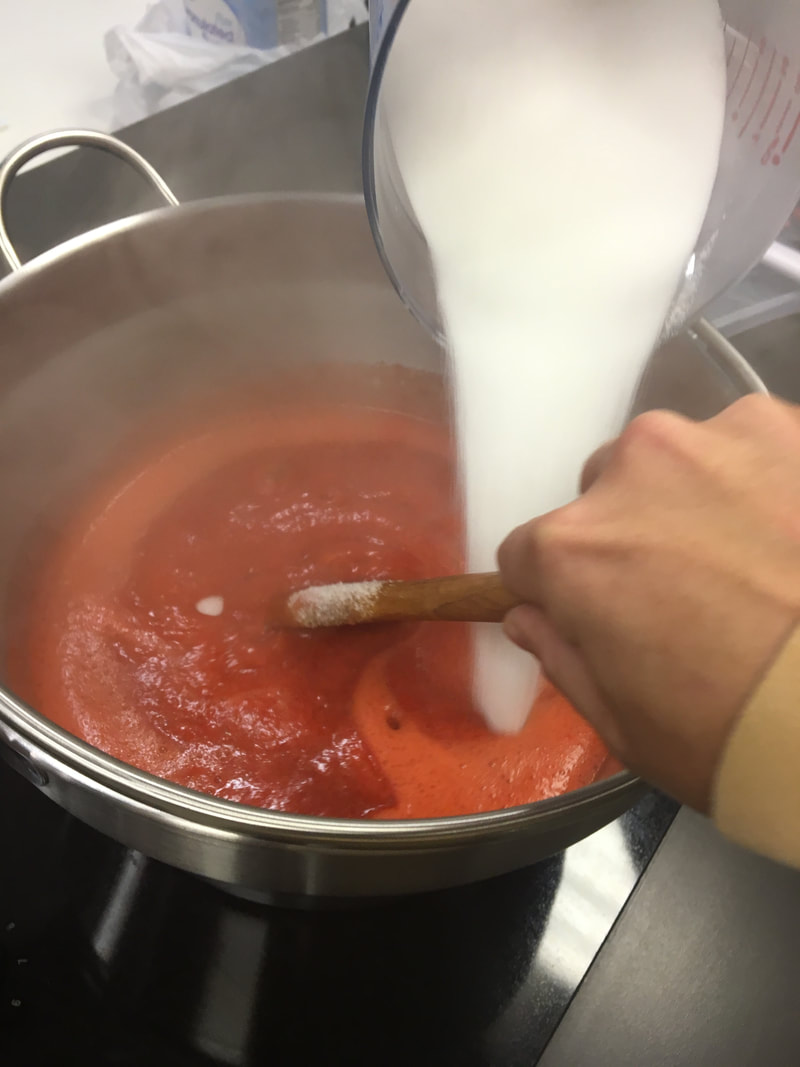
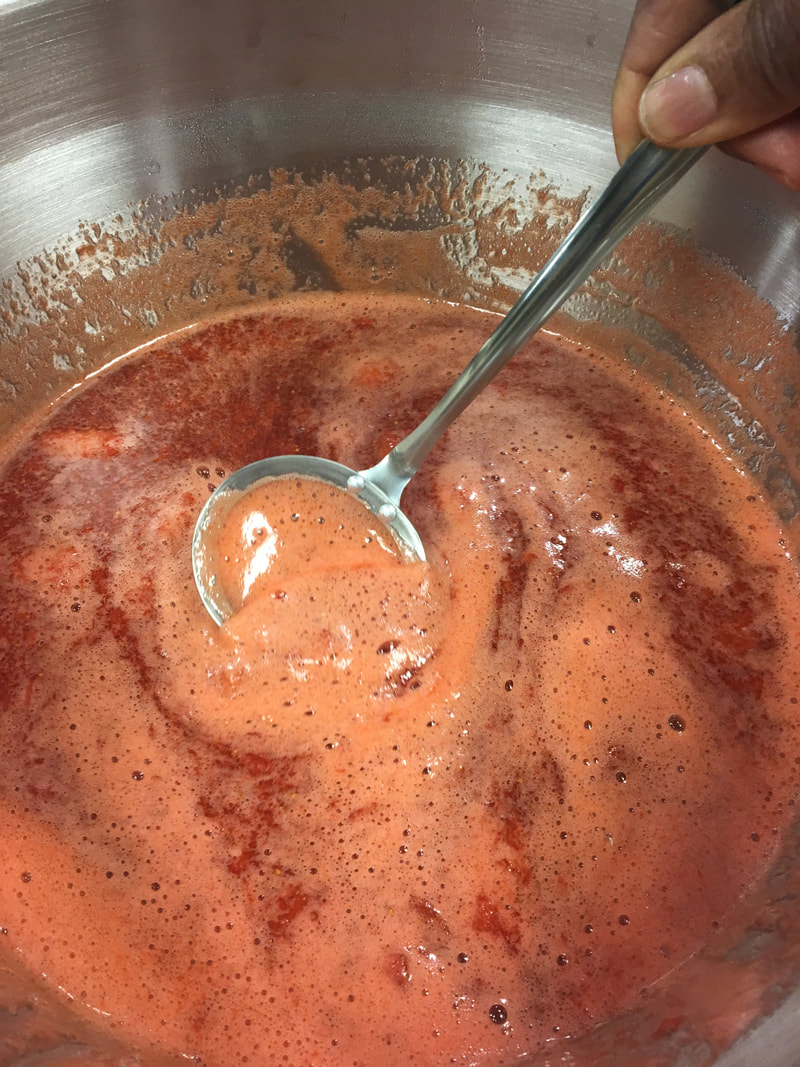
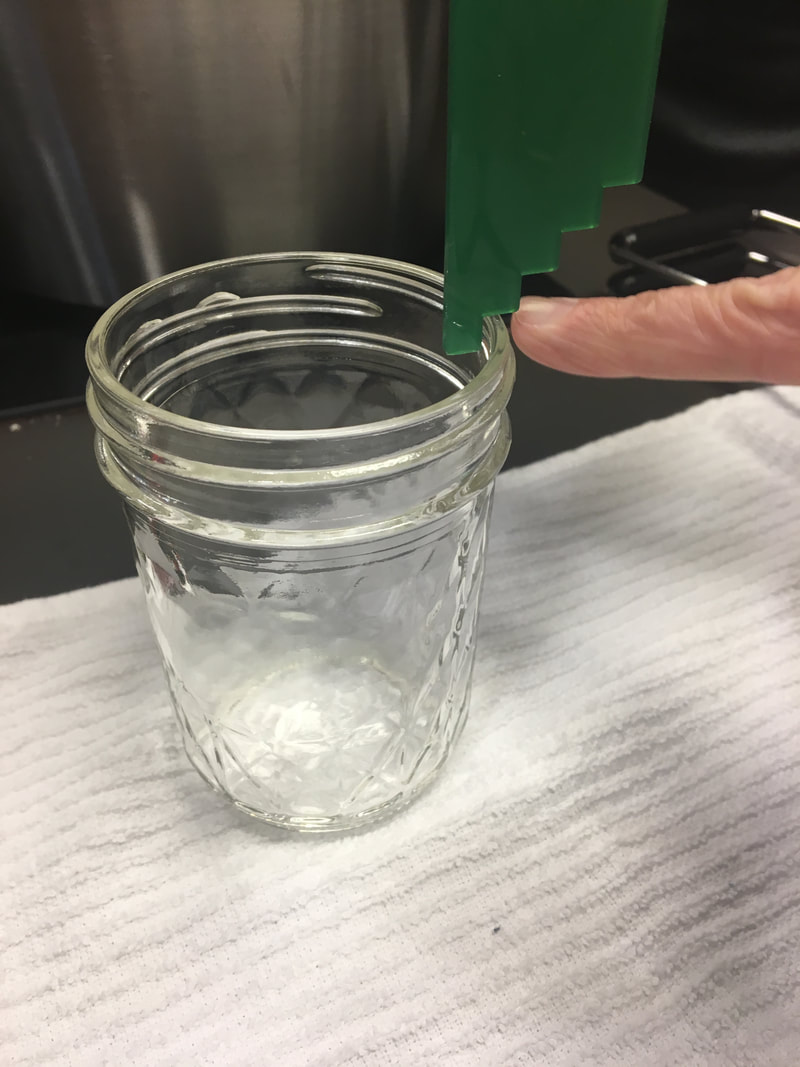
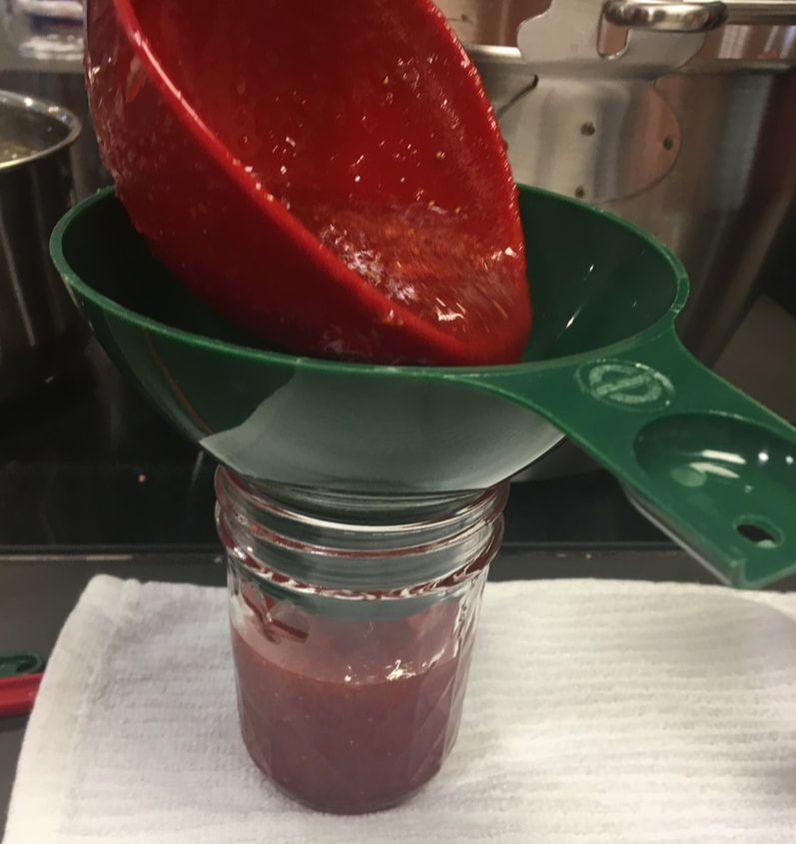
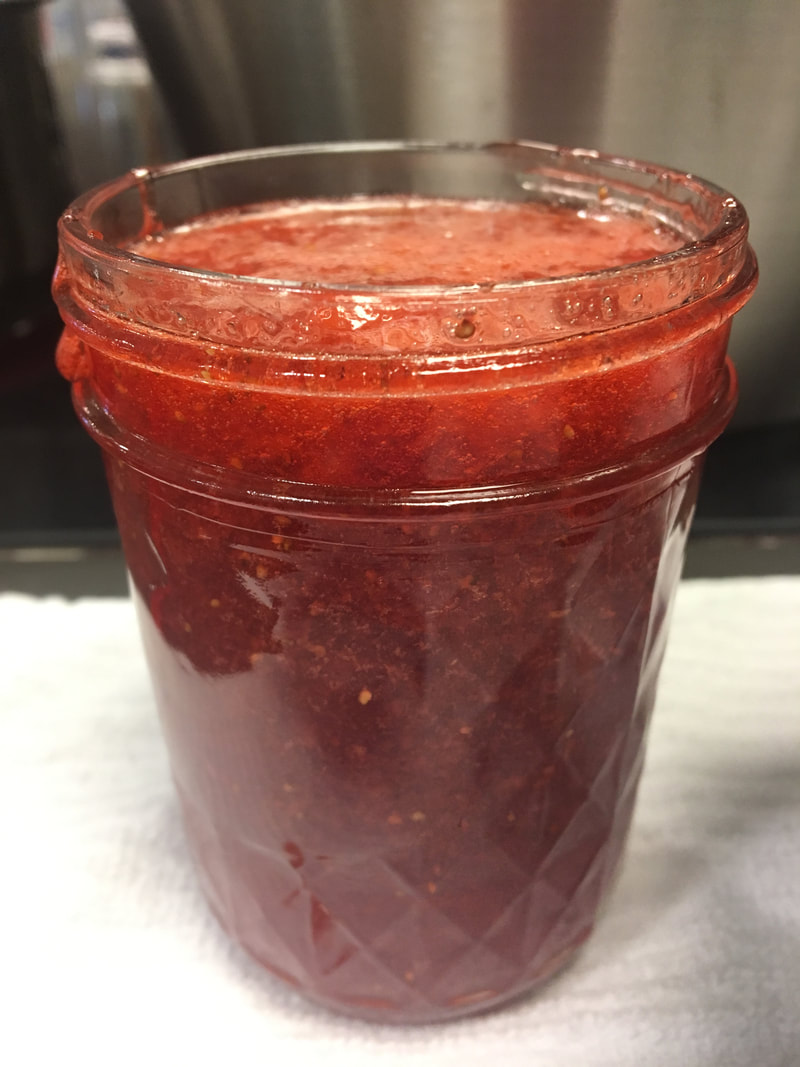
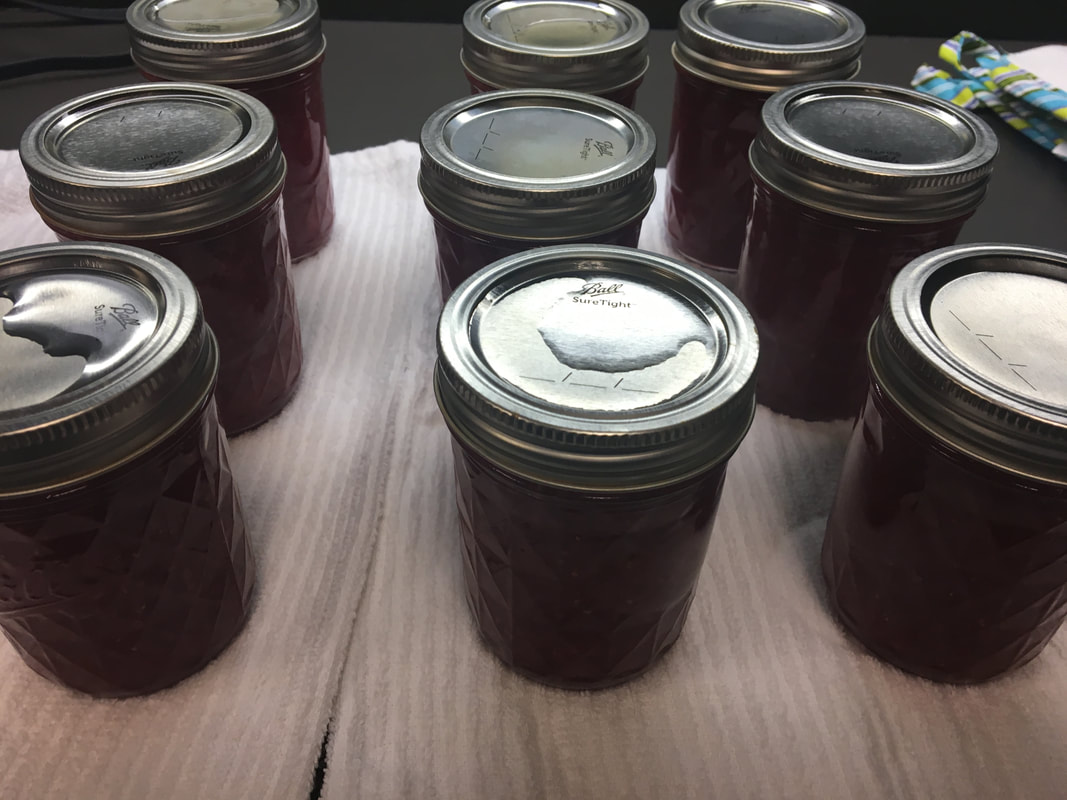
I learned a great deal at the strawberry jam canning class yesterday and am looking forward to a pickling class soon. Below is a recap, but to make the jam you should follow a recipe. There is one included at the end and a link to find more. 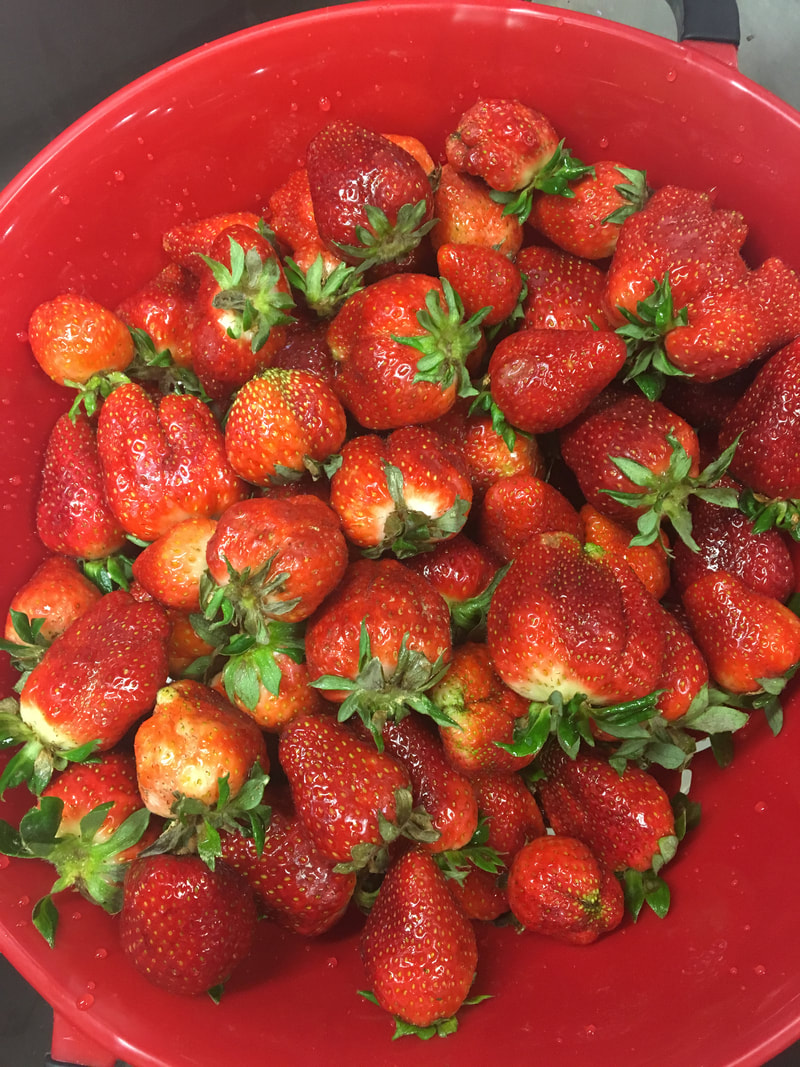 Begin with 3 1/2 quarts of fresh, washed strawberries. And 10 clean jars. De-stem and cut the berries into large pieces. Puree the berries. We used an immersion blender for this. You should have 5 1/2 cups of blended berries. Add your strawberries to your pot (be sure it is a high gauge so that the fruit will not burn). Add pectin and stir well. 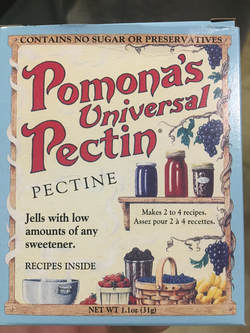 I found this pectin with no sugar or preservatives at Manna Grocery and Deli. Thanks, as always, Manna! Set on high heat and bring to boil with bubbles over the entire surface, stirring constantly. Stir, stir, stir. Add sugar, stirring. This recipe called for a lot of sugar (8 cups) and I am going to look around for one with less, possibly with honey as a substitute for some, and with a little lemon juice which I love to add to almost anything sweet with strawberries. Boil hard for 1 minute, continually stirring. Remove from heat and skim. The skimming is for looks and if you don't mind it looking a little bubbly in your jar, you can skip this step. Also, we were told that a tablespoon of butter stirred in will eliminate this step. I am always in favor of butter! Fill the jars, leaving 1/4-inch head space (space between the jam and the lid). The tool pictured is a bubble freer that we stirred around the edges to free bubbles. It also works to measure the head space. We had a handy ladle and funnel for pouring the jam into the jars. Wipe the rim with a damp paper towel and place the lid and band on. The band does not need to be screwed on tight. Stop when it no longer twists easily. We processed these jars in a water bath for 5 minutes.
There is the recipe we used. Again, a lot of sugar, but very delicious!
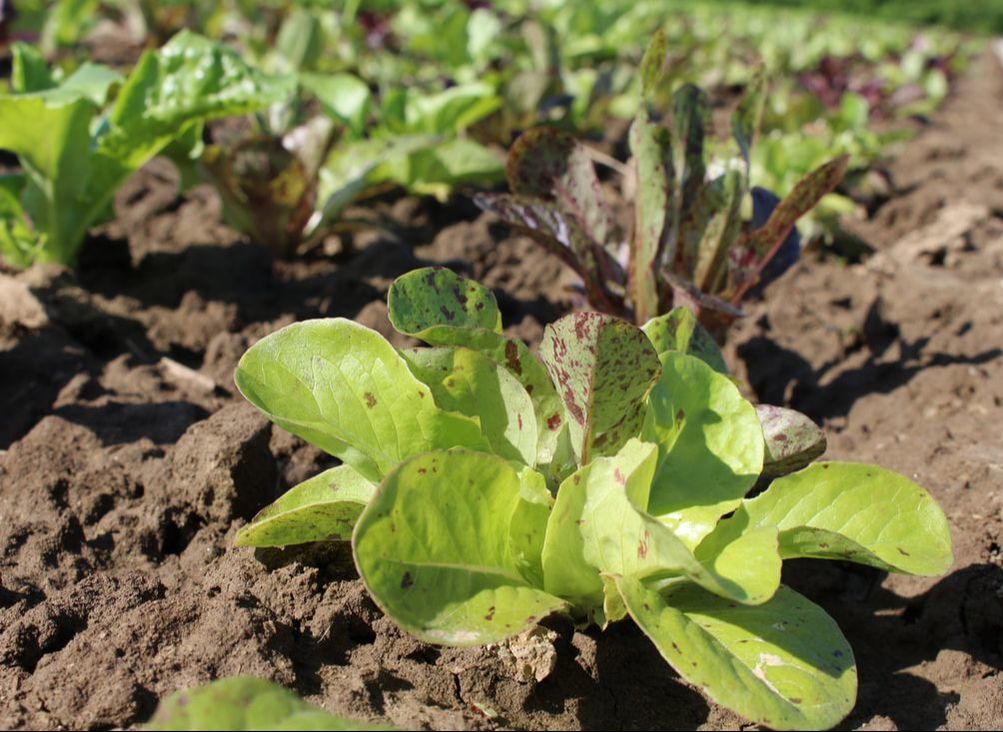
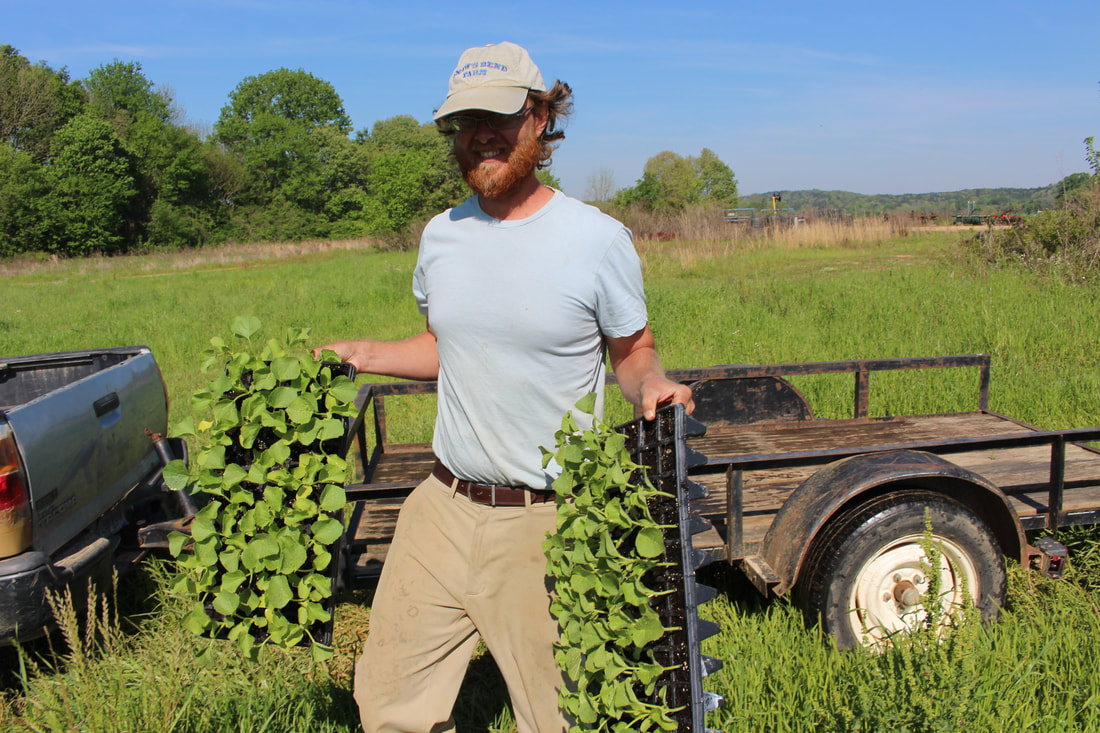
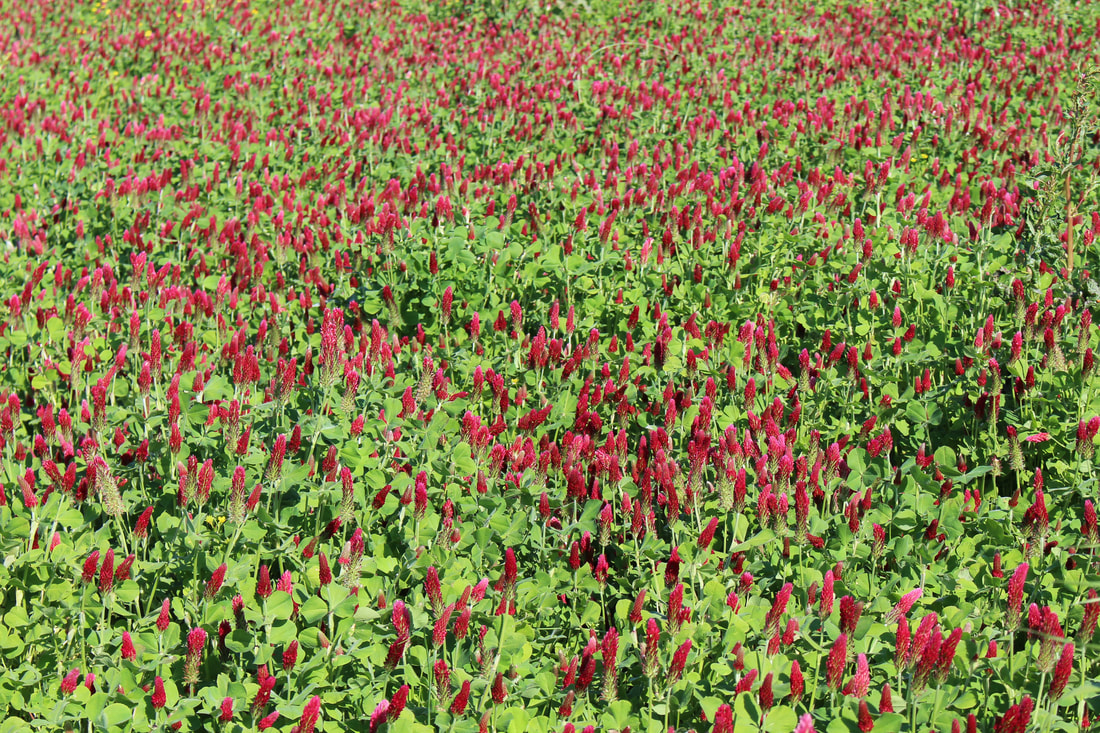
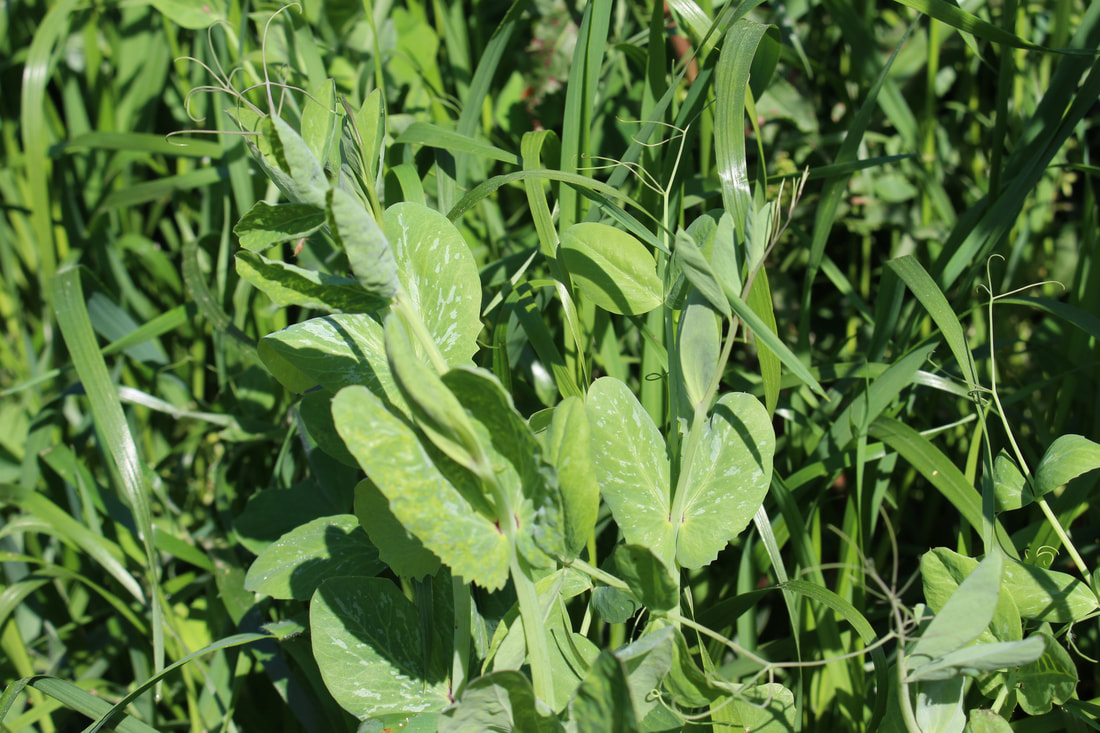
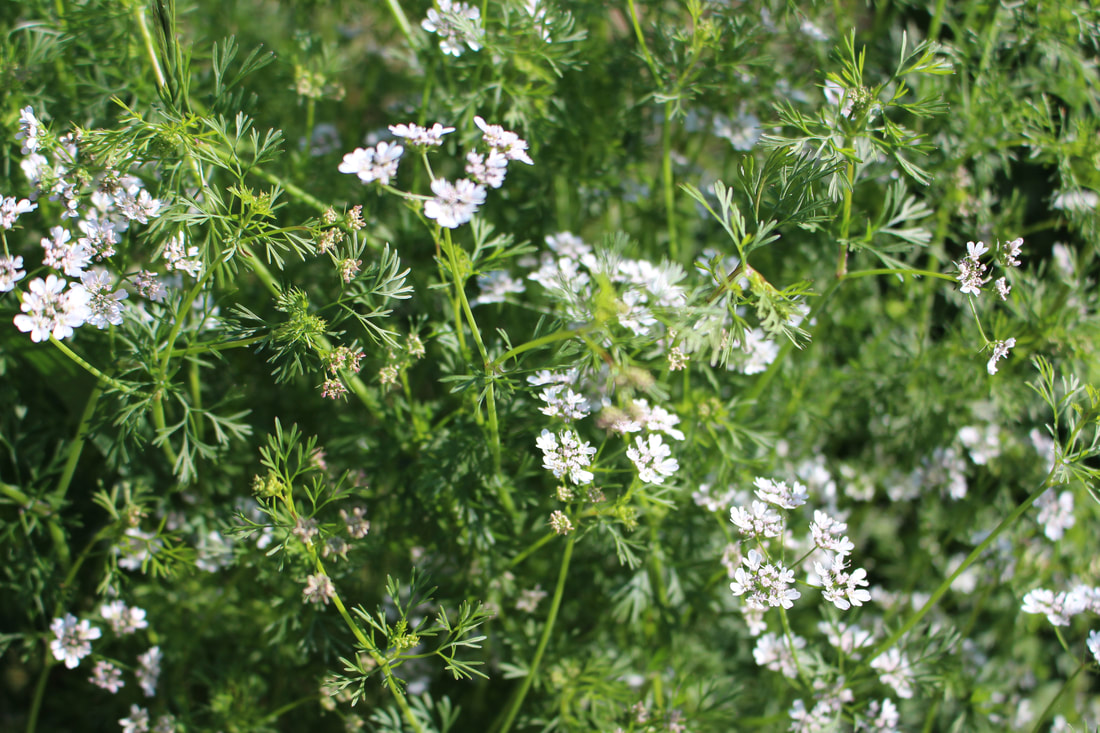
Here is the recommended site for finding more recipes: National Center for Home Food Preservation Happy Canning! Spring is a hopping time on a farm. Plants are thriving and the year is full of possibilities. Because the temperatures are comfortable, we are able to hustle and accomplish a great deal in a day, unlike in the summer when simple tasks require more effort in the heat. Morale is high! The pests have not yet come out and the weeds are still manageable. There are fresh crops being harvested, like this lettuce. Also strawberries, radishes, spring onions, herbs, cooking greens, root vegetables, and more. Fava beans coming soon. We are also busy planting summer crops such as these cantaloupe. As we plant, we anticipate enjoying their sweet flavor on a warm July day. Conversation while potting on tomato plants is often about how we plan to prepare the fruit when it ripens. This is part of eating seasonally. We appreciate these foods more when we only eat them certain times of the year. When asked what my favorite crop to grow is, I always answer with cover crops! They represent responsible management, fertility, and good things to come. In spring, the cover crops reach maturity and, if we can, we will follow with a summer cover crop as well before planting a cash crop. Above: crimson clover; Below: Rye and winter peas Over-wintered crops, such as cilantro, arugula, collards, and kale, we allow to flower and go to seed. These flowers attract beneficial insects to prey on pests. We also eat and market the flowers! They are delicious and turn a normal salad into springtime on a plate.
Below: cilantro flowers |
NEWS FROM THE BENDFrom planting time to the growing and harvesting seasons, Archives
January 2024
Categories |
||||||
 RSS Feed
